|
|
|
|
|
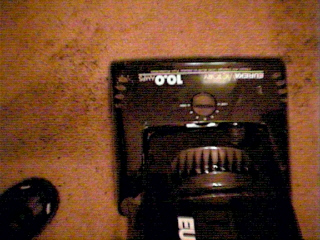
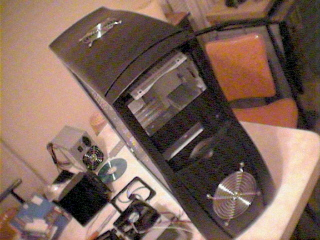
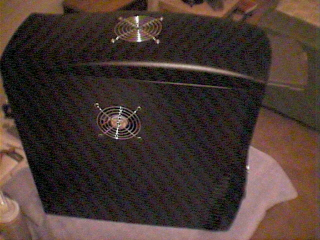
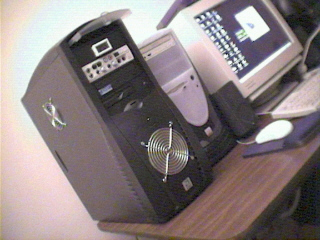
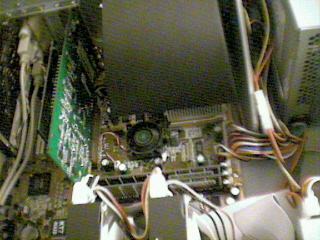
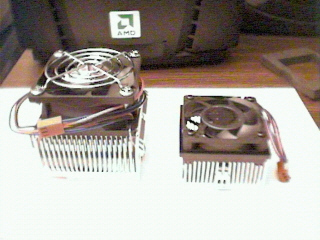
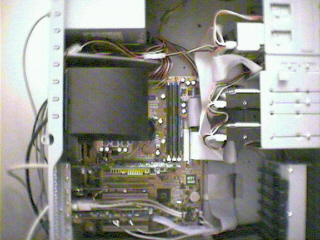
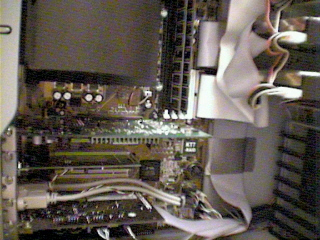
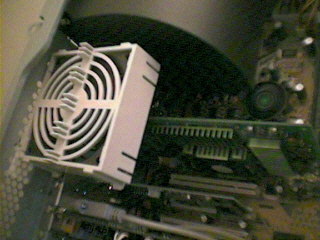
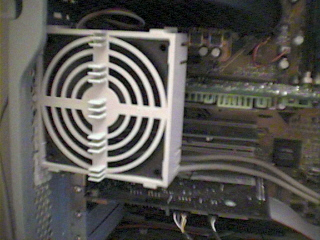
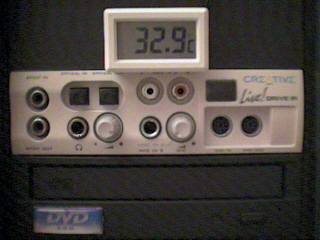
THE BLACK MAMBA PROJECT... A cool running, cool looking, functional, thermally efficient, modified case housing my new AMD 1200 Thunderbird. I'm building a new computer and thought I'd document the process as it comes together. Latest Mad Onion Score on the 1100mhz oc'd to 1200: 9486 and I'm not done yet! http://www.madonion.com/compare.shtml?1247283 Update - 12/20 - Having grown REALLY tired of waiting for the 1200's to come out, then realizing that the best I could hope for on the multiplier would be 12.5, I grabbed an 1100 Tbird, and with an easy overclock (pencil's are wonderful) to 1200 - the system is complete. I've included some benchies, had the Duron to 1090 and the AMD Tbird runs quite nicely at 1200. And for $269.00 it's a great price. I've gone with the FOP 32 fan as the case is cool enough and the cold air induction really keeps it comfortable.. I still have the FOP 38 (same heat sink) I'm not sure what I'll do with it, but probably incorporate it on the next project... THE ANACONDA! (Don't ask me what's up with the snakes.. it's just once you go in a certain direction, ya keep going!) I've also added some new PICS of the interior. I didn't get too nutz with the routing of all the wires in tubing, but I did add a new fan to the card area - as I had a spare fan housing case, I stuck velro along the inside of the case and attached it there, just a little zephyr on the Ultra. So that's it for now. Check back soon if you want to see how the DDR Anaconda is coming. Happy Holidays! Johnny 11/26/00 - Bored with waiting for the new 1200 chip, I thought I'd push the Duron to it's limits and after a long series of sweat-filled, nerve-racking nights and of course, moments, I was able to pull 8261, and also clocked her in at 1090mhz. See the benchies. AMD DURON 1064 - NEW SCORE 8261!! http://www.madonion.com/compare.shtml?1041497 Having recently installed Mechwarrior 4, Microsoft's new sim, (which installed DX8), I was concerned that it might slow the system down, however, I noticed no real improvement, either way, so it seems to work pretty well with the Via drivers and the Creative Drives on the Ultra. For now, 8023's pretty much the limit, without pushing much past 1050 and since the 'puter runs really really really well, (and I love the rest of my components and would like to keep them in working order..LOL) that's a fine score... (for now!). You can see the temps and benchmarks and you'll see that the FOP38, really kept it cool, along with the generous porting on the case. PS: Thanks to "GameFace" over there at "The Onion" for pushing the boundaries as well! Actually, I'd like to thank ALL those terrific folks over there for their help and insight, and of course, for feeding this addiction to speed!
11/04/00 - As there seems to be COUNTRY WIDE shortage of Athlon 1200 processors, I have no idea when I'll get this thing running. Most of the vendors on www.pricewatch.com anticipate getting the 1200's in mid-November. So until then, the project is basically complete.. sans chip! (I AM tempted to go grab a duron for a day just to see if it runs...but alas, I'll wait.) Email me your thoughts and suggestions at ws_jp.hotmail.com. See ya soon! Specs:
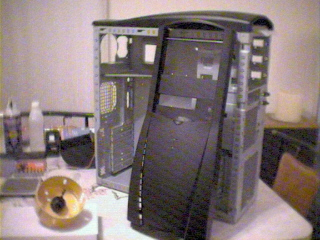
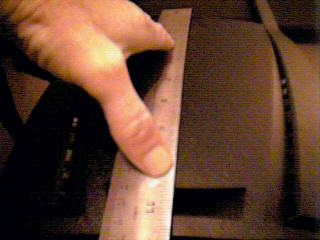
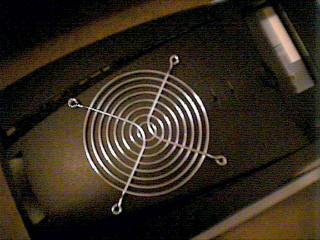
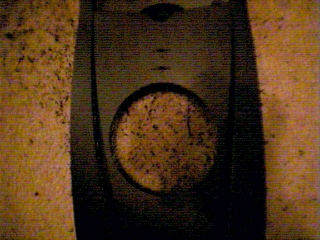
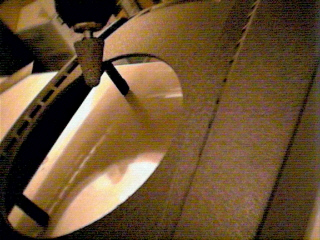
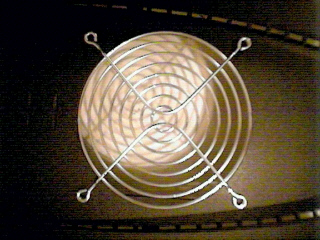
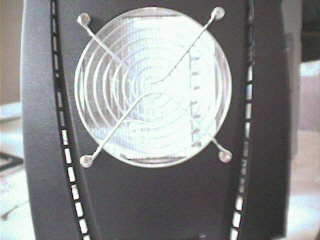
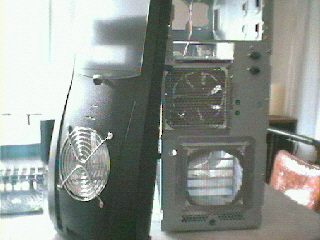
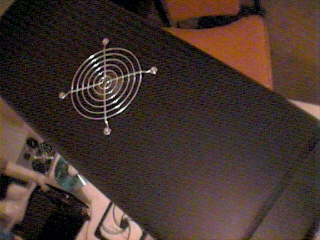
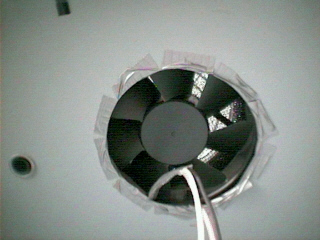
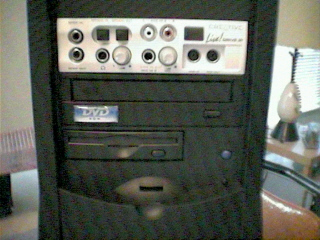
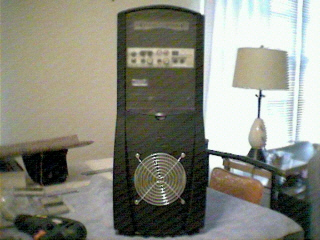
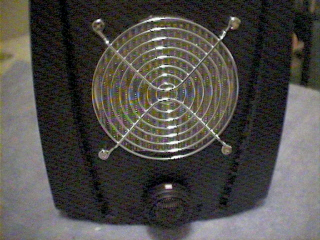
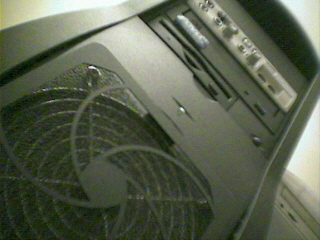
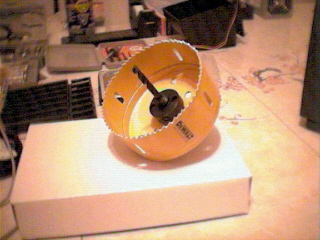
Status - Case complete,Case porting, cooling and blowholes complete. Mobo in, drives in. Still have to get 120mm Sunon fan. The true pain is waiting on that AMD 1200 chip. Construction begins... Tho Fongkai 320 is a wonderful case, rugged, looks trick and has some really well thought out aspects. As the system I'm building is going to be producing LOTS of HEAT, I figured that that a few cooling mods would help. The front of the chassis has places for a 92 and 120mm fan, I just opened up the main hole, added wire filters (to keep the cat hair out!), put in a large induction port on the front of the panel and added the all important "blow hole" on the top. Here's a quick run down. Also - Those Hole saws create a tremendous amount of torque and can snap your wrist if you're not careful.. ALWAYS wear safety glasses and make sure you vacuum and blow out the case when you're done. If you have any doubt about working with powertools, a trip to your local machine shop can get all your cutting and case needs accomplished usually for as little as 20 dollars and in some cases, free in exchange for a six pack, of course!
All the best and thanks for stopping by! Johnny
|
|
|